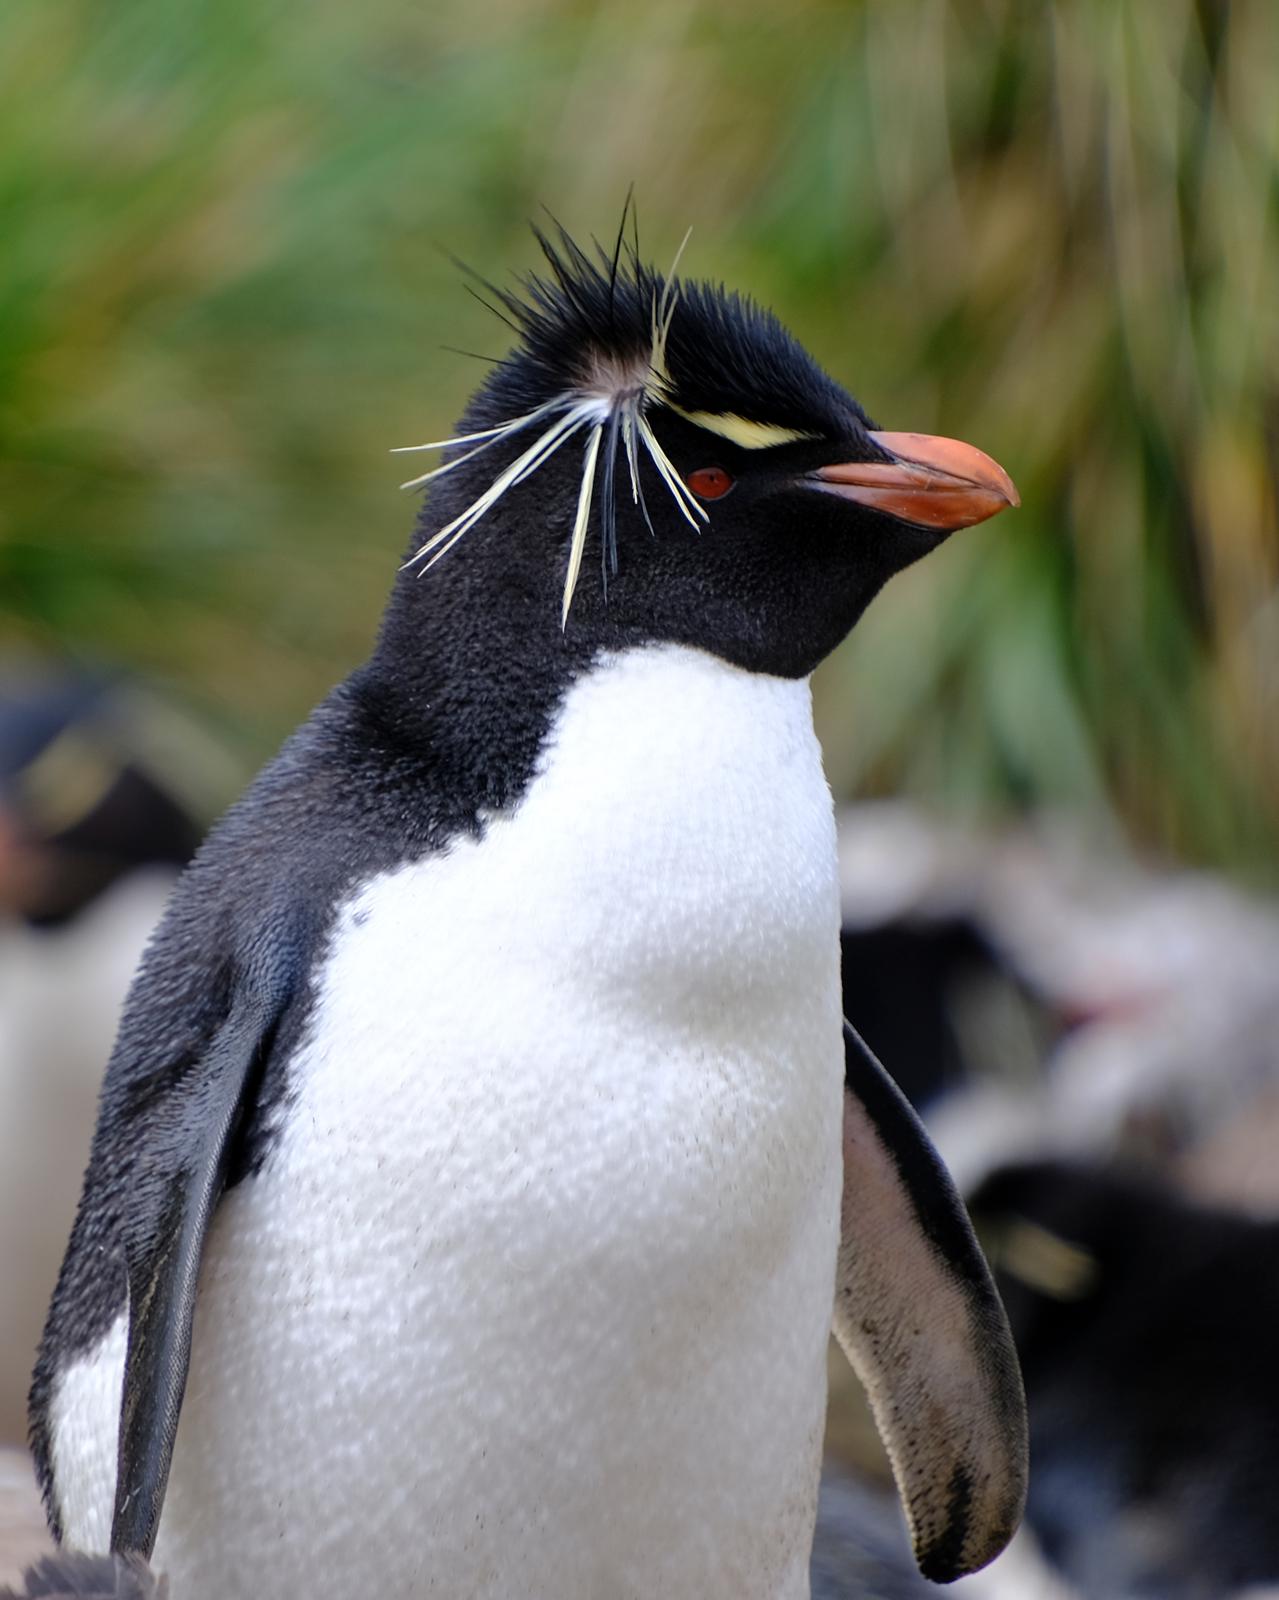
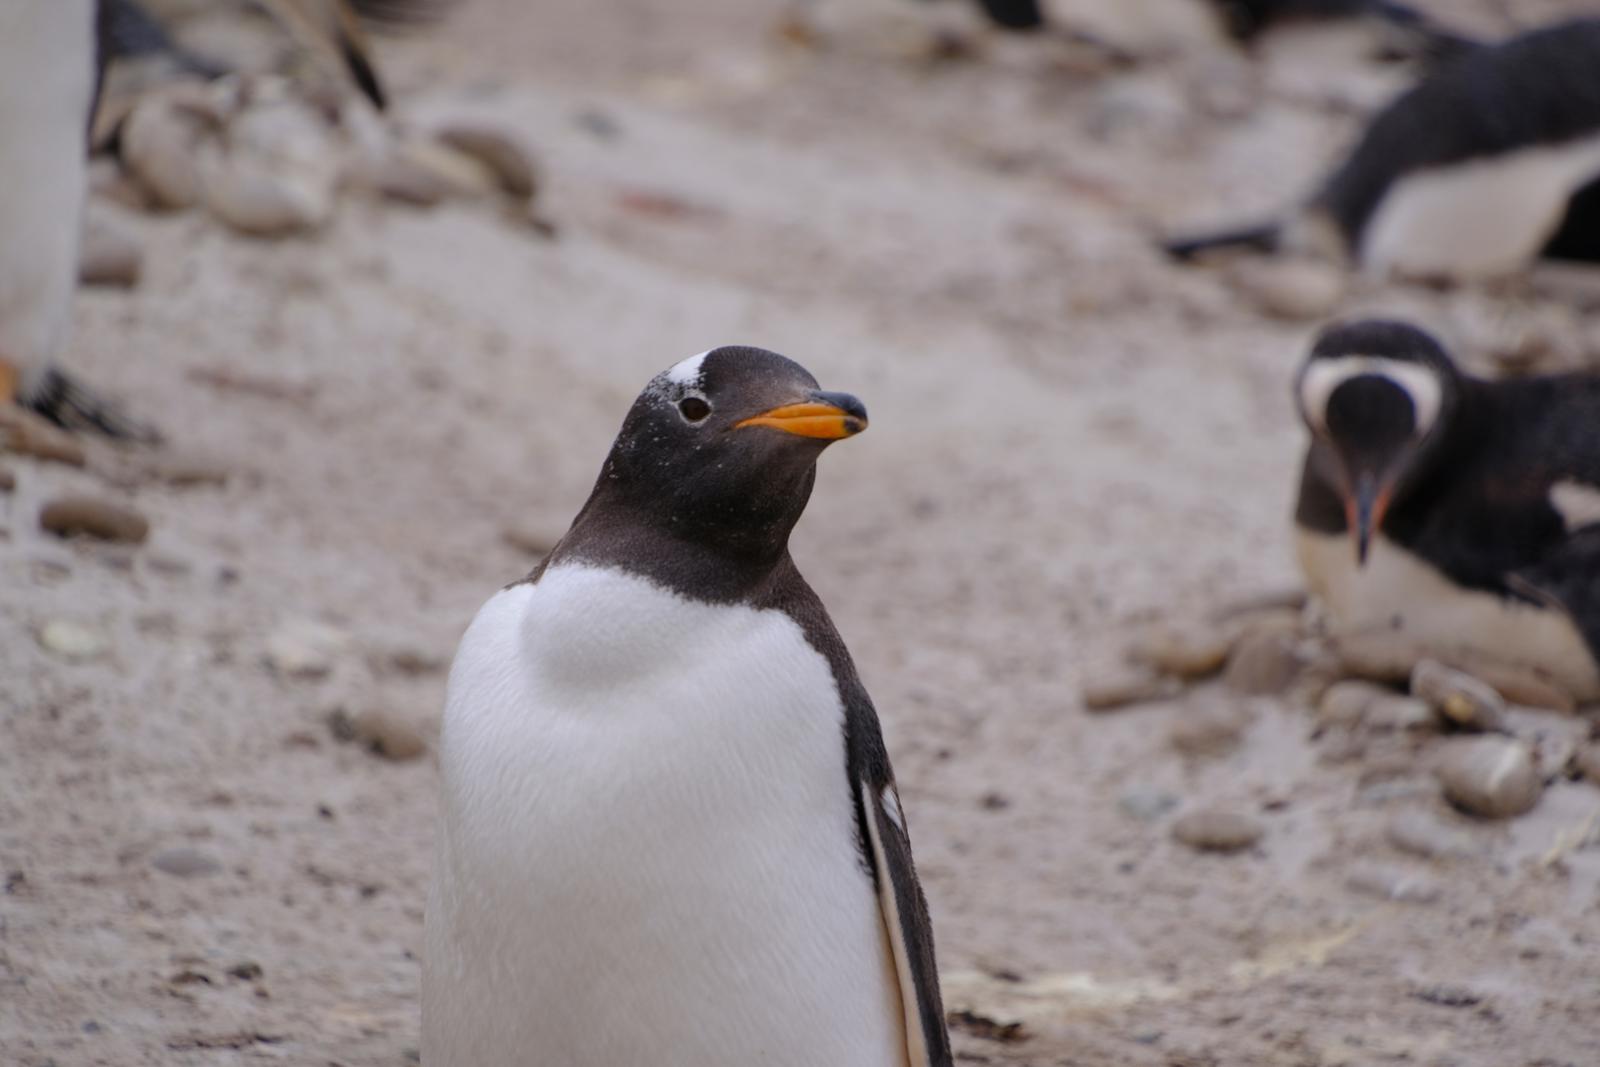
I recently went on an expedition cruise to the Antarctic Peninsula and took thousands of photos. Of course there are social media platforms and other easy and free ways of sharing photos, but I wanted something that I could craft the way I wanted. Also, since I’m a software engineer who has built many web sites I felt confident I could roll my own without issue (I was right). Please check out my photo gallery which inspired me to write this article.
What is hugo?
There are hundreds of ways to make a website in 2025. Why Hugo? And what is Hugo? Unlike typical content management systems that generate content dynamically from a database or cached data, Hugo is a static site generator. This means Hugo compiles HTML pages and assets to be served directly as static files. You write your content in markdown (or other formats), and then Hugo compiles it into HTML.
Installing hugo is easy. Check the link for multiple installation instructions. Typical scenarios are Mac, brew install hugo or on Linux, sudo apt install hugo. I use Arch, btw yay hugo.
After hugo is intalled, these are the steps to start a gitops photo gallery:
But first, coffee…
Actually, let’s set up git first.
git init
And then add this .gitignore file:
.hugo_build.lock
/assets
/public
/resources
Now you are ready to get coffee and continue.
Step 1. Get hugo initialized: hugo new site
To get started, open your terminal and enter the following
mkdir photos
hugo new site .
This will generate all the essential Hugo files for the project.
As the output to the above hugo command states, you should now install a theme. Install one that supports a photo gallery. There are many themes for hugo, and a good selection are specifically designed for photo galleries. https://themes.gohugo.io/tags/gallery/
You can install using the hugo mod init command or as a git-submodule, which I prefer:
git submodule add --depth=1 https://github.com/nicokaiser/hugo-theme-gallery.git themes/gallery
Step 2: Run hugo locally http://localhost:1313/
hugo server --disableFastRender --buildDrafts
This should quickly start a development server available at http://localhost:1313/ on your local machine. Note, the 404, Page Note Found is expected for now.
Edit hugo.toml and add the following line:
theme = "gallery"
Create the home page:
hugo new content/_index.md
Open the content/_index.md in your favorite editor and set the front matter variables similar to the following:
---
description: A photo gallery.
title: Photos
menus:
  main:
    name: Home
    weight: -1
---
Your site should now show a simple page with the title used in the _index.md file.
Now is a good time to commit our start:
git add .   # This should include the git-submodule
git commit -m "Start Hugo site"
Step 3. GitLab repo
Create a public git repository on GitLab: https://gitlab.com/projects/new#blank_project
Set up your local project remote and push your files (replace
git remote add origin <url>
git push
Gitlab Pages
Now for the important step of enabling Pages for publishing your gallery. In the side menu under Deploy, click on Pages. Enable this feature and Save changes.
For more information see the GitLab Docs
Step 4. Recommended: Git LFS
Before committing photos to the git repo, which take up much more space than typical text files, you can set up LFS so that they are stored separately but referenced in the repo. Install git LFS if it isn’t already
Add a .gitattributes file:
*.jpg filter=lfs diff=lfs merge=lfs -text
*.JPG filter=lfs diff=lfs merge=lfs -text
Add similar lines for other file extensions as needed. Now when you git add those files they should be tracked in LFS and won’t take up space within the .git repo.
Step 5. Domains and DNS
You might have noticed when enabling GitLab Pages that you can add your own custom domain name. To do this, you need to add a CNAME record that points to your gitlab subdomain. For example, in my case I have the following DNS record:
photos.gv.ca. CNAME davidnuman.gitlab.io.
Step 6. Deploy!
GitLab makes this step easy. Simply add this file to your repository and push the change:
Filename: .gitlab-ci
default:
  image: "${CI_TEMPLATE_REGISTRY_HOST}/pages/hugo/hugo_extended:latest"

variables:
  GIT_SUBMODULE_STRATEGY: recursive

test:  # builds and tests your site
  script:
    - hugo
  rules:
    - if: $CI_COMMIT_BRANCH != $CI_DEFAULT_BRANCH

pages:  # a predefined job that builds your pages and saves them to the specified path.
  script:
    - hugo --environment production
  artifacts:
    paths:
      - public
  rules:
    - if: $CI_COMMIT_BRANCH == $CI_DEFAULT_BRANCH
  environment: production
Add and commit that file then push to GitLab. You should see the build listed in the repo under Build > Pipelines.
Step 7. Google Analytics
Adding Google Analytics to monitor traffic on the site is a common feature to add to any site. Hugo makes this easy with something they call partials which allow for mini-templates that are separate from the theme code.Hugo even has a built-in embedded template for Google Analytics.
Create this file which calls the template: layouts/partials/head-custom.html
{{ template "_internal/google_analytics.html" . }}
Then edit hugo.toml adding the googleAnalytics config to the services section like so:
[services]
  [services.rss]
    limit = 100
  [services.googleAnalytics]
    ID = 'G-MYTOKEN'
I used curl to check that it worked:
curl -s http://localhost:1313/ |grep googletagmanager
Step Next: Add photos
Now for the hard part: sorting through all your photos to choose for the gallery. But with this system all set up, all you have to do is add your photos to the gallery folder, or sub-gallery folder. Check your Hugo theme documentation as these might vary, but this is an example file structure to give you an idea of how to organize things.
content/example-gallery/
├── _index.md
├── cover.jpg
├── sub-gallery1
│   ├── _DSF1451.jpg
│   ├── _DSF1465.jpg
│   ├── _DSF1472.jpg
│   ├── _DSF1617.jpg
│   └── index.md
└── sub-gallery2
    ├── _DSF1249.jpg
    ├── _DSF1280.jpg
    ├── _DSF1599.jpg
    └── index.md
Use git to add and commit the photos and the gallery index Markdown files. When you push the changes to GitLab, it will automatically trigger a pipeline to build the new static content and update your public site.
Bonus utility:
The theme I am using has a feature which shows a photo caption from the EXIF data image description tag. See my photo of this Striated caracara for an example.
For me, command line utilities work best for my workflow. I wanted a quick way to add Image Description EXIF tags to images (with spellcheck) so I created a golang project which uses a “git commit” style UI to do this: